
1
Open the import
On Contacts, select Import › Import CSV (in ⋯ from 20 contacts), or drop the file on the page.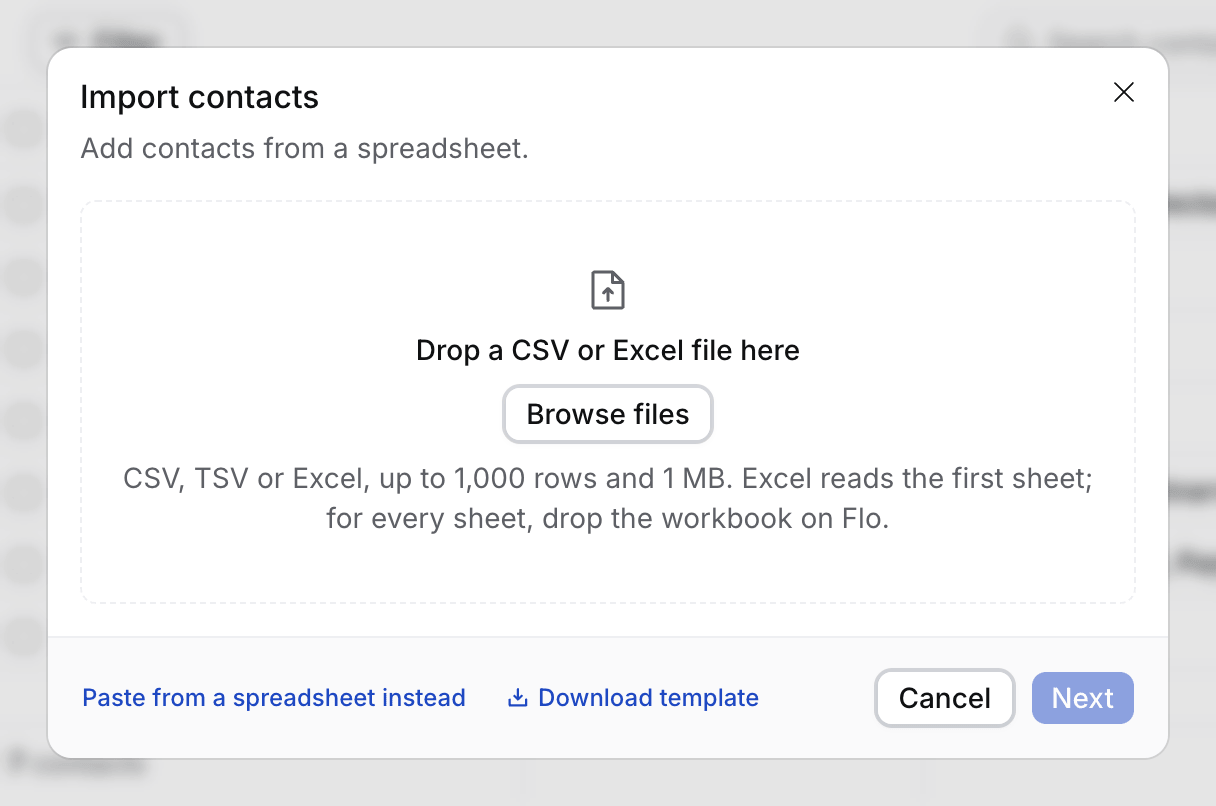
2
Add your file
Drop the file or select Browse files, then choose the row that holds the column names. Download template gives Hire’s columns.
3
Map the columns
Check each column’s Hire field. Sensitive columns show Left out: sensitive data and never import.
4
Preview and import
Select Preview. Each row says New, Fill, Skip or Problem. Then select Import N contacts.
How Hire matches
One file holds up to 1,000 rows and 1 MB. For several files, import with Flo.
If something looks wrong
- “Add the company”. Give the row a Company column or a work email. Gmail and Outlook addresses never name a company.
- A row is refused. Its email is a colleague’s or on your agency’s email domains.
- A row has no name. Select Use names from mail to fill it from your mail.
- Wrong import. Select Undo import within 14 days.
- “Not added, possible match” or “looks like”. The person may be someone you have: the same name, a nickname, or the same address with a +tag. Add them by hand if they’re someone else.
- “is a shared inbox, not a person”. An address like careers@, hr@, info@ or noreply@ is a team’s inbox. Import the people who read it instead.