
Before you start
- Skillflo has created your agency and sent you the Owner’s invitation.
- You have your current jobs, clients, contacts and candidates as files: a spreadsheet, an export from your old CRM or a folder of CVs. A few of each is enough to start.
- Read How Hire works for the method behind these steps.
1. Sign in and join
- Open the invitation email and follow its link.
- Sign in with the address the invitation was sent to, either with its Google or Microsoft account or with Continue with email and the code Hire sends. An invitation works only for that address.
- Type Your name, which is how your team sees you, then select Join with your agency’s name.
2. Set the agency’s defaults
Open Settings › General and set the time zone, reporting currency, date and number formats and phone country. Check Agency email domains, so your colleagues never turn up as candidates. Then turn on two-step sign-in in Settings › Security, and add your logo and layouts in Settings › Templates. See Set up your agency.3. Connect Gmail, your calendar and Echo, and review the people Hire finds
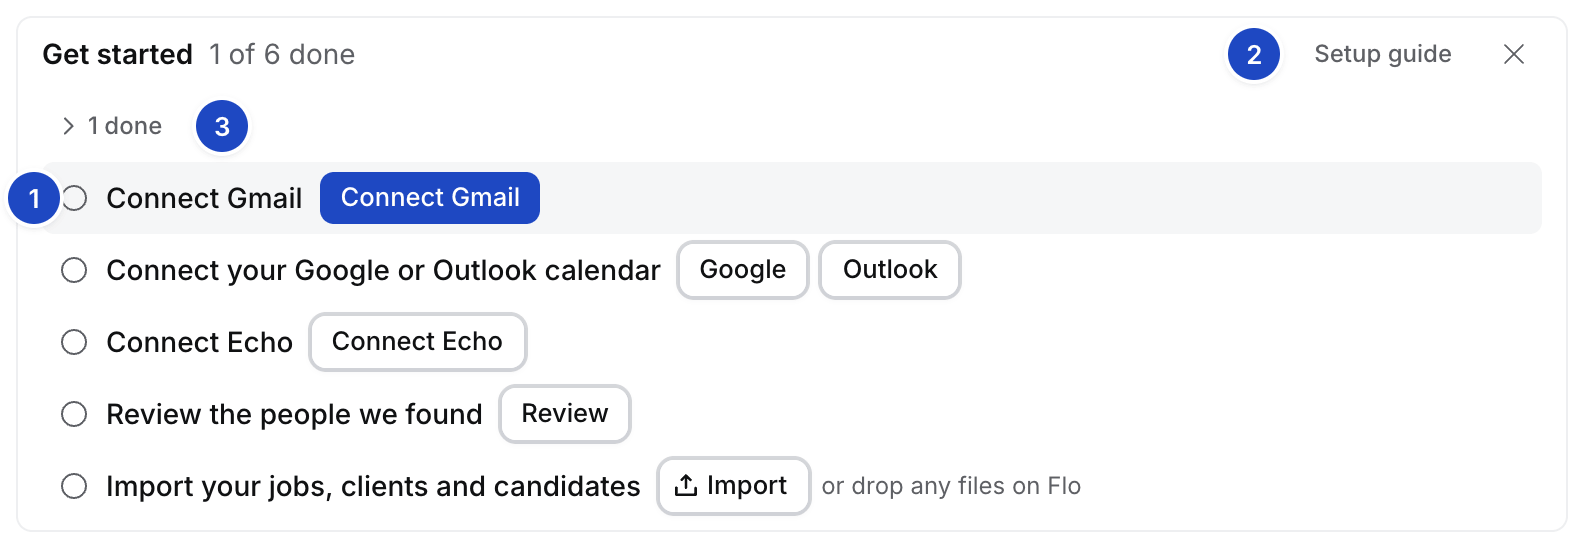
Follow Get started: connect Gmail, then your calendar, then Echo. The fourth row then says Review N people we found, and how many Hire left out as newsletters, automated senders or your own addresses. Select Review, tick the clients and candidates on People we found and select Add.4. Bring the rest of your work in
Add what your connections didn’t bring. Select Import on Get started, then Anything else, and pick up to five files. For one sheet choose A spreadsheet, for CVs choose CVs. Flo reads them as one plan: Jobs, Companies, Contacts and Candidates. You can also drop the files on that step, or select drop any files on Flo to pick them. Or open Jobs, Companies, Contacts or Candidates. Each empty table says what to drop on it.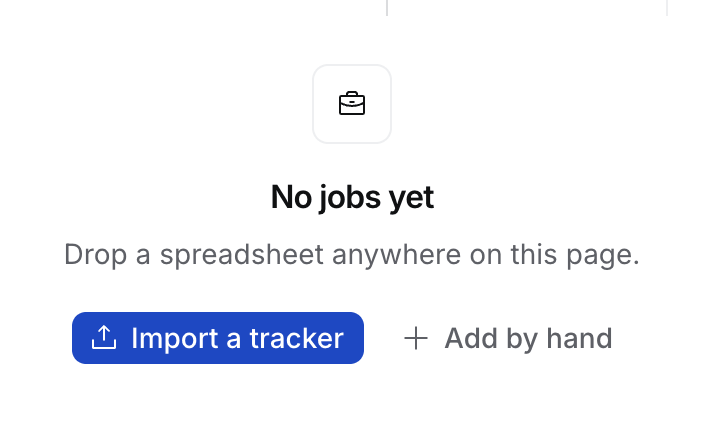
- An export from your old CRM, or a job tracker. Select Import a tracker on Jobs, or Import › Anything else on Today. You approve Flo’s plan once. See Import your data with Flo.
- A contacts or candidates spreadsheet. Select Import a spreadsheet. See Import contacts and Import candidates.
- A folder of CVs. Select Upload CVs on Candidates, or drop a zip. Each CV becomes a candidate.
- One job at a time. Select Add by hand on Jobs.
5. Invite your team
The last step is Invite your team: select Invite teammates. Type their work emails, pick a role and a primary team, then select Create invites. Each consultant connects their own calendar, Echo and Gmail. Your jobs and clients are already there for them.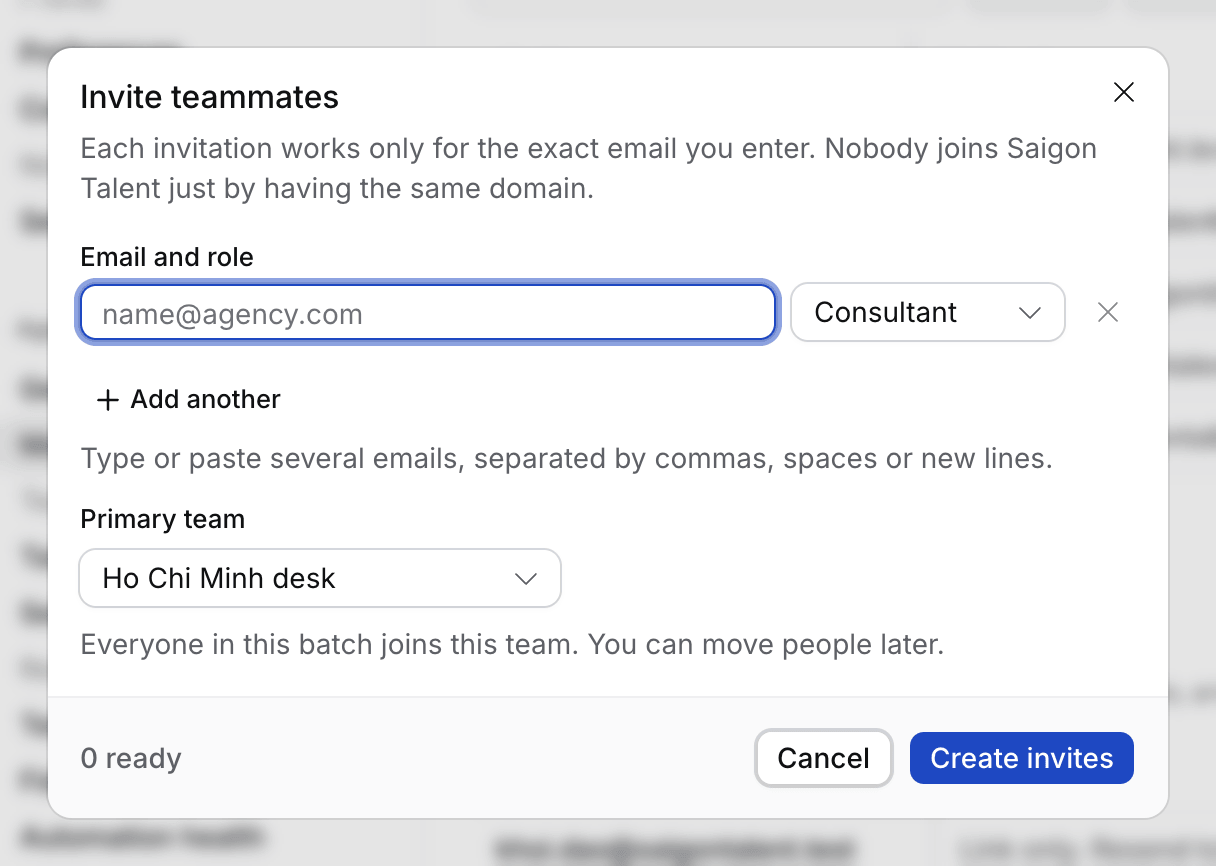
6. Set your BD targets
Open Settings › Targets and type 10 under BD calls a day on the Agency’s row. Add Candidate interviews a day, CVs sent a week and Placements a month if you track them. From tomorrow, each consultant’s Today shows the day’s count. See How to set a daily BD calls target.7. Build your first Target list
Pick the industry you want to win jobs in. Open Ask Flo and say, for example, “Build my target list for pharmaceuticals in Vietnam”. Flo’s card lists each company with its Tier and why Flo chose it. Untick any you don’t want, then select Approve. The targets show on Companies › Targets, Tier 1 first. See How to build a target list with Flo and How to track a target company.8. Start your first Job
When a client briefs you, record the call with Echo. Flo proposes the Job from the transcript, and you approve it. A client who sends a JD instead: press ⌘ K, choose New job and drop the JD on its first step. See Your first job.What you did
Your agency has its settings, your Gmail, calendar and Echo, your existing work, a team with invitations, daily targets, a tiered Target list and a first Job. Today’s Get started checklist is gone. From tomorrow, start each day with A morning in Hire.Next
Your first job, from briefing to placement
Brief, search, review, send CVs and follow the client’s rounds.